Why Pot Roast Belongs on a Southern Table
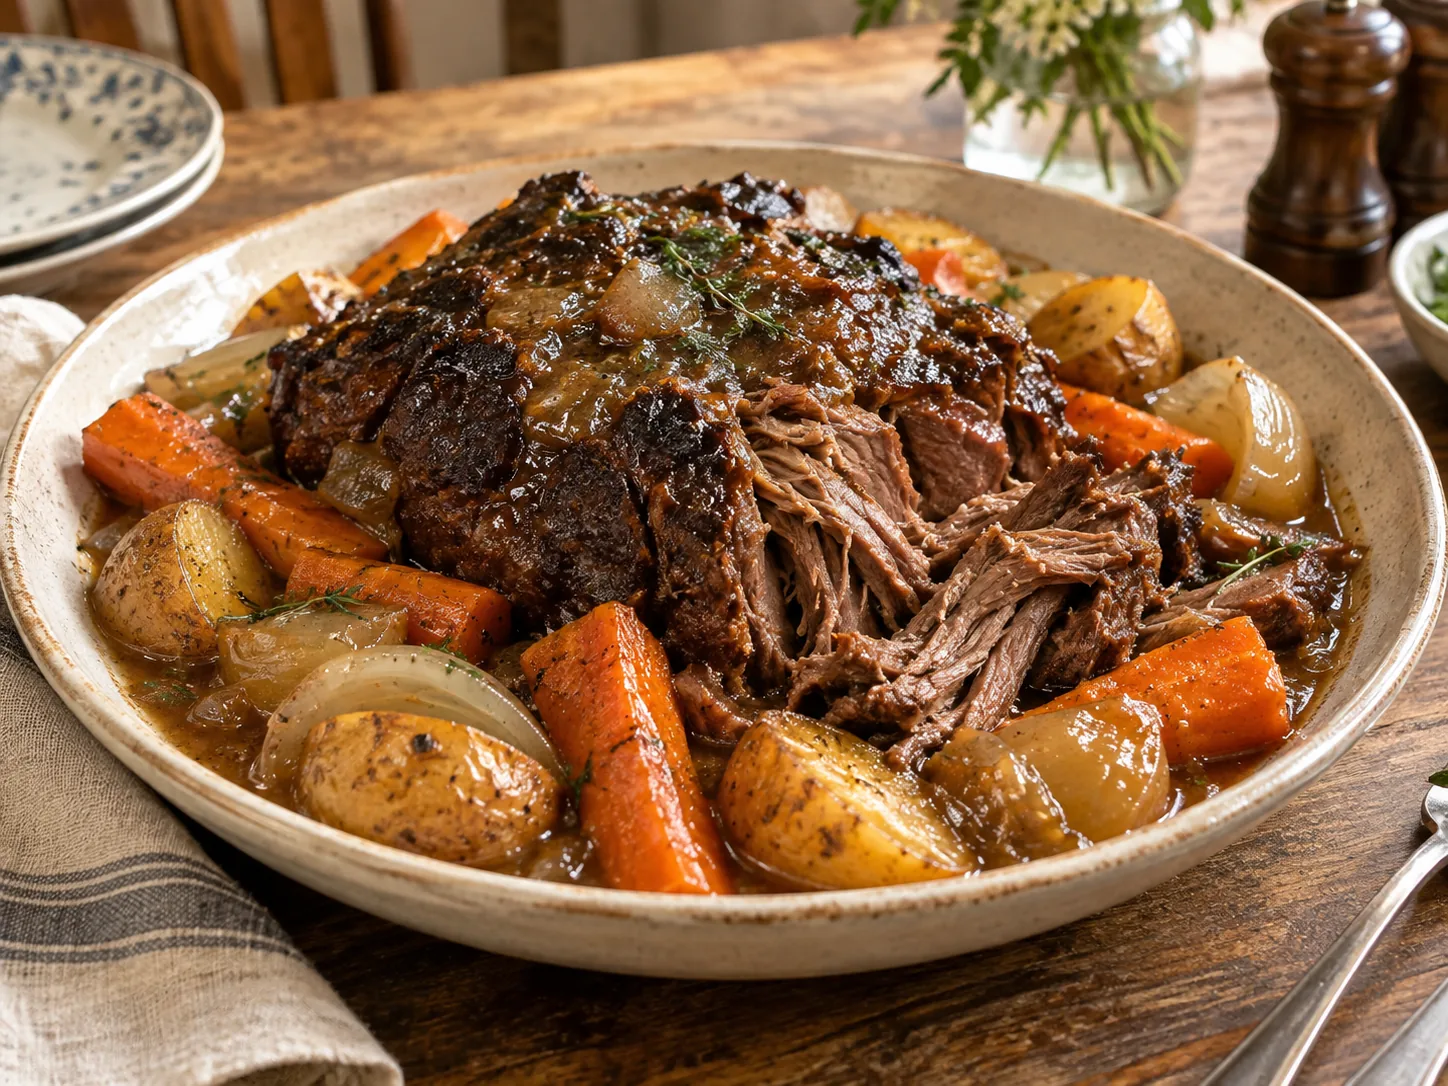
Pot roast rewards patience: a well-marbled chuck roast slowly transforms into tender beef while its juices enrich the onions and gravy. Searing first creates the browned flavor that makes this simple one-pot supper taste deeply savory. It is the kind of Sunday dinner that fills the kitchen with a welcoming aroma long before anyone sits down.
The method is a braise, which means a tough, flavorful cut cooks slowly with a modest amount of liquid in a covered pot. Moist heat and time soften connective tissue into gelatin, giving both the meat and gravy a luxurious texture. The goal is beef that yields to a fork while remaining juicy enough to serve in generous pieces.
Why Chuck Roast Is the Right Cut
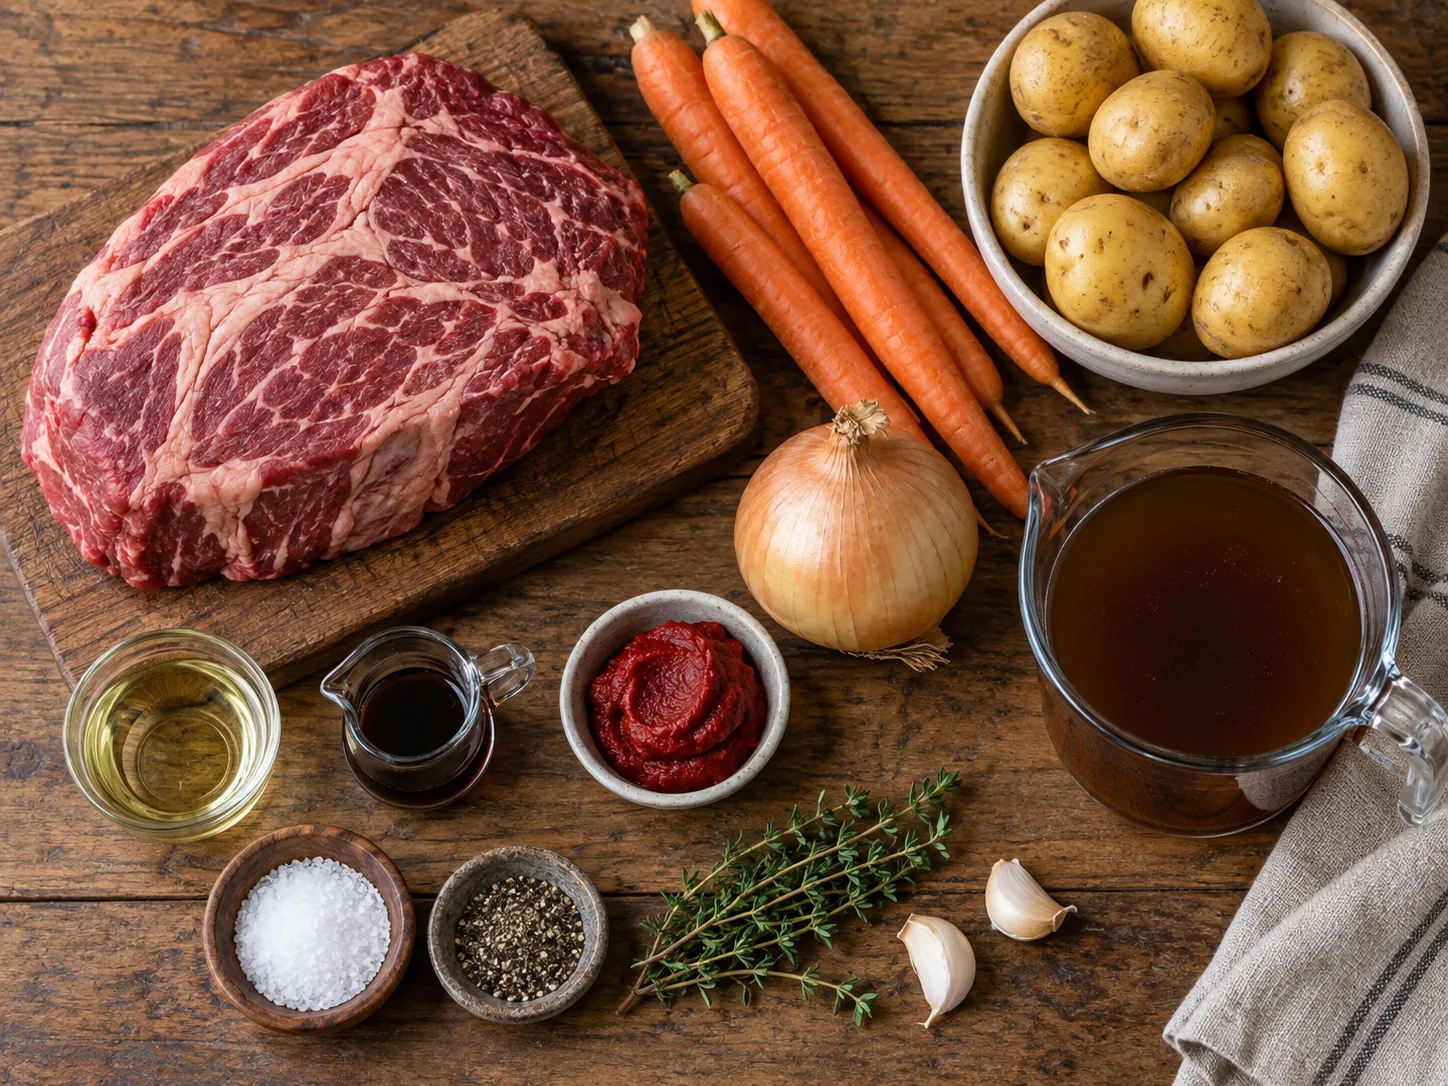
Boneless chuck comes from the shoulder, an area with abundant marbling and connective tissue. Those features make it less tender when cooked quickly but ideal for a long braise. Choose a roast between 3½ and 4 pounds with fine white streaks running through the meat. A completely lean roast may look tidy in the package but is more likely to become dry and stringy.
If the roast has one very thick exterior cap of hard fat, trim it to roughly ¼ inch; leave the interior marbling intact. Tie an irregular roast with kitchen twine if needed so it cooks evenly. Bone-in chuck also works, although it may require a larger pot and will yield slightly fewer portions by weight.
Seasoning and Searing for Deeper Flavor
Pat the beef thoroughly dry because surface moisture produces steam and prevents browning. Season all sides, including the edges. For even deeper seasoning, salt the roast and refrigerate it uncovered for several hours or overnight, then add pepper shortly before cooking. If seasoning immediately, let the roast stand while the oven heats.
Use a heavy Dutch oven that holds steady heat. When the oil shimmers, lay in the roast and leave it undisturbed for four to five minutes on each broad side. A properly browned surface should release with little resistance; if it clings stubbornly, it probably needs another minute. Brown the edges with tongs, then transfer the beef to a plate without discarding its juices.
Building the Braising Liquid
Lower the heat before adding onion so the browned fond on the bottom does not burn. Cook until the wedges begin to soften, then briefly sauté garlic and tomato paste. Cooking tomato paste for a minute removes its raw edge and intensifies its savory sweetness. Beef broth and Worcestershire sauce deglaze the pot, dissolving the browned bits into the eventual gravy.
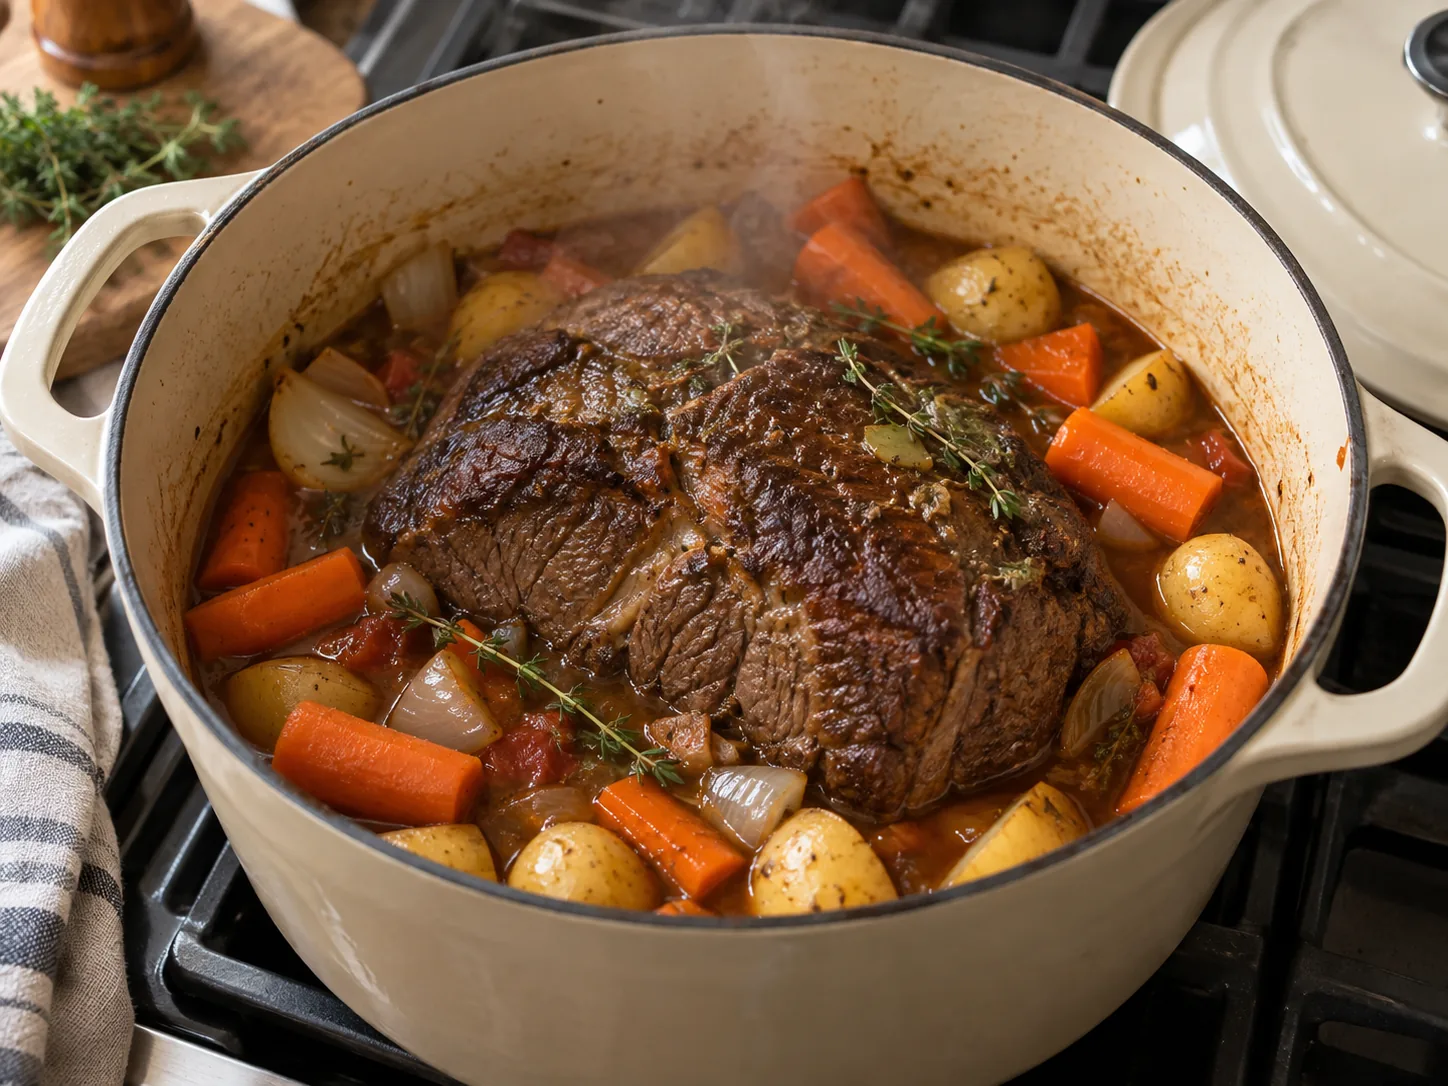
Use low-sodium broth because the liquid concentrates over several hours. When the roast returns to the pot, the broth should rise only one-third to halfway up its sides. Submerging it completely dilutes the roasted flavor and turns the method closer to boiling. A tight lid traps steam, creating the moist environment needed to soften the beef.
Low Heat, Enough Time
A 325°F oven surrounds the pot with steady heat and is easier to regulate than a stovetop burner. After two hours, the roast will have begun to tenderize but usually will not yet pull apart. Turn it gently if the exposed top looks dry, check that a shallow pool of liquid remains, and add a little hot broth only if necessary.
Add carrots and potatoes at this stage rather than at the beginning. Cut carrots into substantial pieces and leave small Yukon gold potatoes whole or halve only the larger ones. They need enough time to absorb flavor and become tender, but three full hours would cause them to collapse into the gravy.
How to Know the Roast Is Truly Tender
Pot roast is not finished merely when it reaches a food-safe temperature. Collagen needs additional time to dissolve, so test texture rather than relying on the clock alone. Insert a fork into the thickest section and twist. It should turn easily, and the fibers should separate with almost no resistance. If the meat is still tight or chewy, cover it and cook for another 20 to 30 minutes before testing again.
An instant-read thermometer may show roughly 195–205°F when the roast becomes fork-tender, but different pieces vary. The fork test remains more useful. Rest the finished beef for 15 minutes in or beside the pot before pulling it into chunks or slicing against the grain. Resting reduces juice loss and gives the gravy time to settle.
What to Watch For
A roast that is tough after three hours is usually undercooked rather than ruined; connective tissue simply needs more time. Keep it covered and continue in short intervals. Dry meat may result from using a lean cut, cooking at excessively high heat, or allowing the liquid to evaporate. Check the pot during the vegetable stage, but avoid opening the lid repeatedly.
If the vegetables finish before the meat, lift them into a covered bowl and return them for reheating at the end. If the gravy seems greasy, rest the liquid for several minutes and skim fat from the surface. A gravy that is too thin can simmer uncovered on the stovetop after the beef and vegetables are removed. For extra body, mash one cooked potato piece into the liquid or whisk in a small cornstarch slurry.
Serving Ideas
Arrange pieces of beef with carrots and potatoes in shallow bowls, then spoon the glossy gravy over everything. Country green beans, collard greens, buttered peas, biscuits, or crusty bread balance the plate and help capture the pan juices. A crisp cabbage slaw or simply dressed salad offers welcome freshness beside the rich braise.
Make It Your Own
Add cremini mushrooms with the carrots, use rosemary instead of thyme, or replace part of the broth with unsalted tomato juice. Pearl onions can replace the large onion for a special-occasion presentation. A small splash of red wine may be used for deglazing, but simmer it briefly before adding broth. Keep the chuck roast at the center of the recipe: its marbling and connective tissue are what produce the tender texture.
Make Ahead and Reheat Without Drying
Pot roast is especially good when cooked a day ahead. Cool the beef, vegetables, and gravy within two hours and refrigerate them together. Once chilled, excess fat hardens on the surface and is easy to remove. Keeping the meat covered by gravy protects it from drying and allows the flavors to deepen overnight.
Reheat covered in a 300°F oven until the center reaches 165°F, usually 30 to 45 minutes depending on the amount. Add a splash of broth if the gravy has thickened too much. Refrigerate leftovers for up to four days. Freeze beef with gravy in airtight meal-size portions for up to three months; potatoes may become softer after thawing, so freeze them separately or prepare fresh potatoes when serving.
Jump-to-Recipe Card
Ingredients
- 3½ to 4-pound boneless chuck roast
- 2 teaspoons kosher salt
- 1 teaspoon black pepper
- 2 tablespoons neutral oil
- 1 large yellow onion, cut into wedges
- 2 garlic cloves, minced
- 2 tablespoons tomato paste
- 2½ cups low-sodium beef broth
- 1 tablespoon Worcestershire sauce
- 1 teaspoon dried thyme
- 4 carrots, cut into large pieces
- 1 pound baby Yukon gold potatoes
Instructions
- Heat the oven to 325°F. Pat the roast dry and season with salt and pepper. Heat oil in a Dutch oven over medium-high heat and sear the beef for 4–5 minutes per broad side, plus the edges. Transfer to a plate.
- Reduce the heat to medium. Cook the onion for 4 minutes, add garlic and tomato paste, and stir for 1 minute. Pour in the broth and Worcestershire sauce, scraping up every browned bit.
- Return the roast and its juices to the pot and add thyme. The liquid should reach one-third to halfway up the meat. Cover tightly and braise for 2 hours.
- Add carrots and potatoes around the roast, cover, and cook for another 60–90 minutes, until the vegetables are tender and a fork twists easily in the beef.
- Rest the roast for 15 minutes. Skim excess fat from the liquid; simmer the gravy uncovered if it needs thickening. Pull or slice the beef against the grain and serve with vegetables and gravy.
Calculate
Calculate
Calculate
Calculate
Nutrition values should be calculated from the final tested recipe quantities before publication.